Get Pro-Level Finishes by Dialing in Your Setup
A paint gun sprayer can make a job fly, or it can turn a good crew into a frustrated crew. You can have top-shelf paint, a solid team, and clean surfaces, but if your sprayer setup is off, the finish will show it. In hot July weather, small mistakes show up as flashing, striping, and rough, dry-feeling paint.
When the heat is up, a sprayer magnifies both good and bad technique. The right setup can mean smooth siding and happy customers. The wrong setup can mean callbacks and touch-ups when you should already be on the next job. Here, we will walk through how to choose, set up, and fine-tune your paint gun sprayer so you can spray faster and get a consistent, pro-quality finish.
Match Your Sprayer and Tip to the Job
Before we talk about pressure or technique, we need to talk about the basic match between tool and task. Not every paint gun sprayer is right for every project, and grabbing whatever is on the truck is a good way to fight the job all day.
In simple terms:
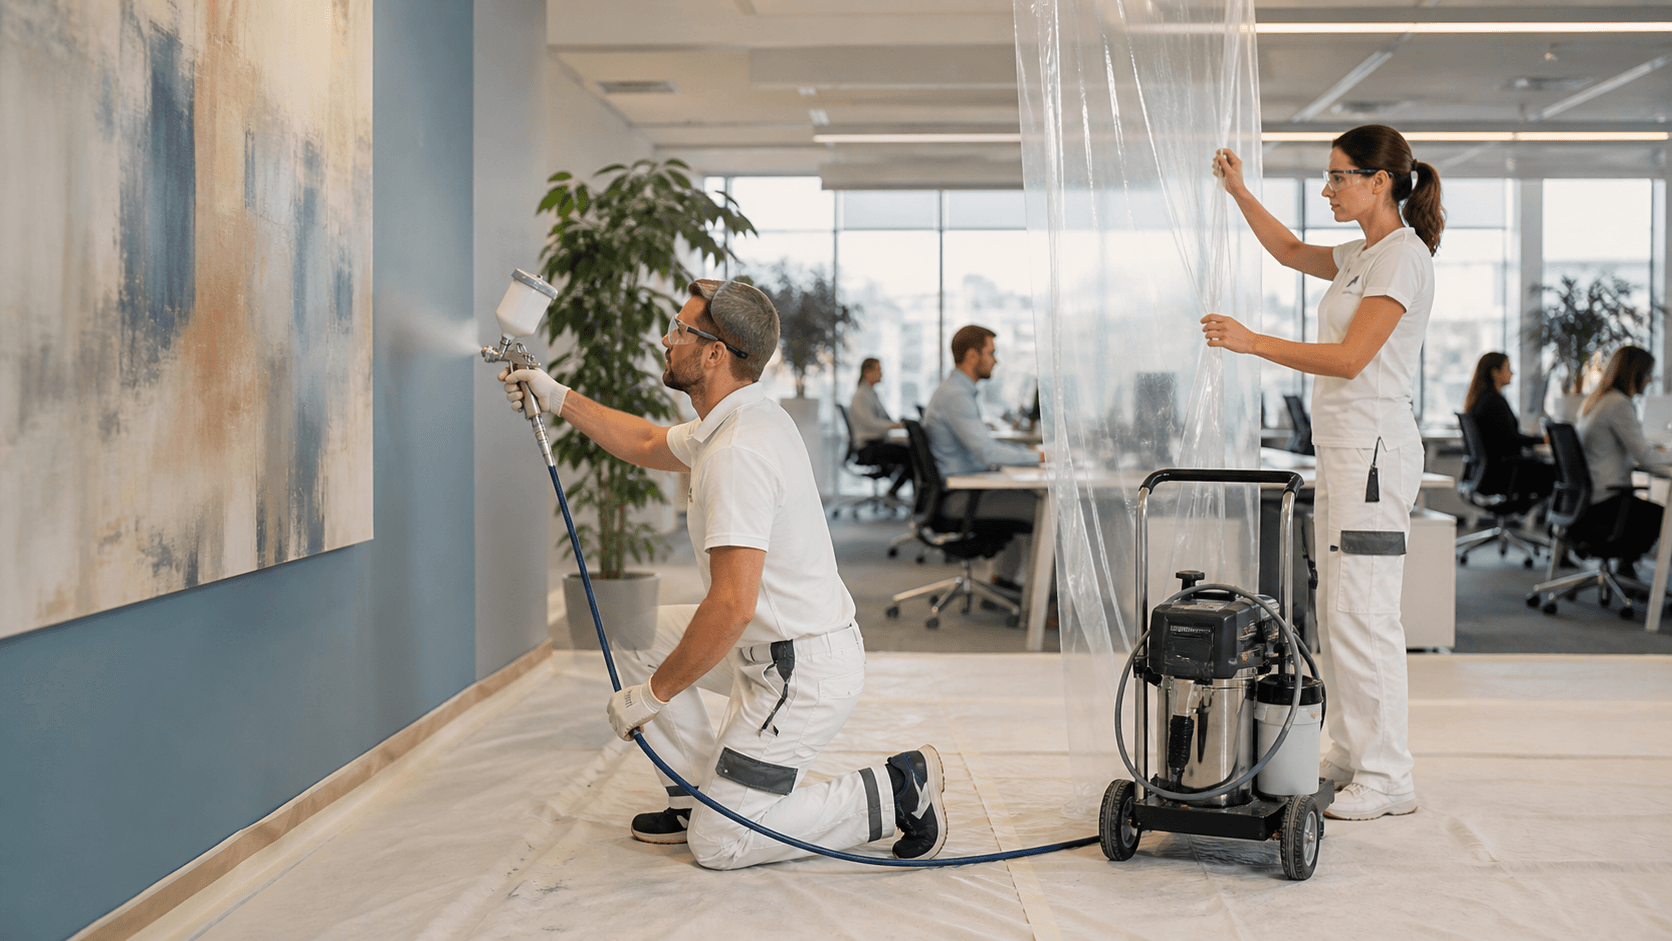
- Airless sprayers: Great for larger exteriors, siding, fences, walls
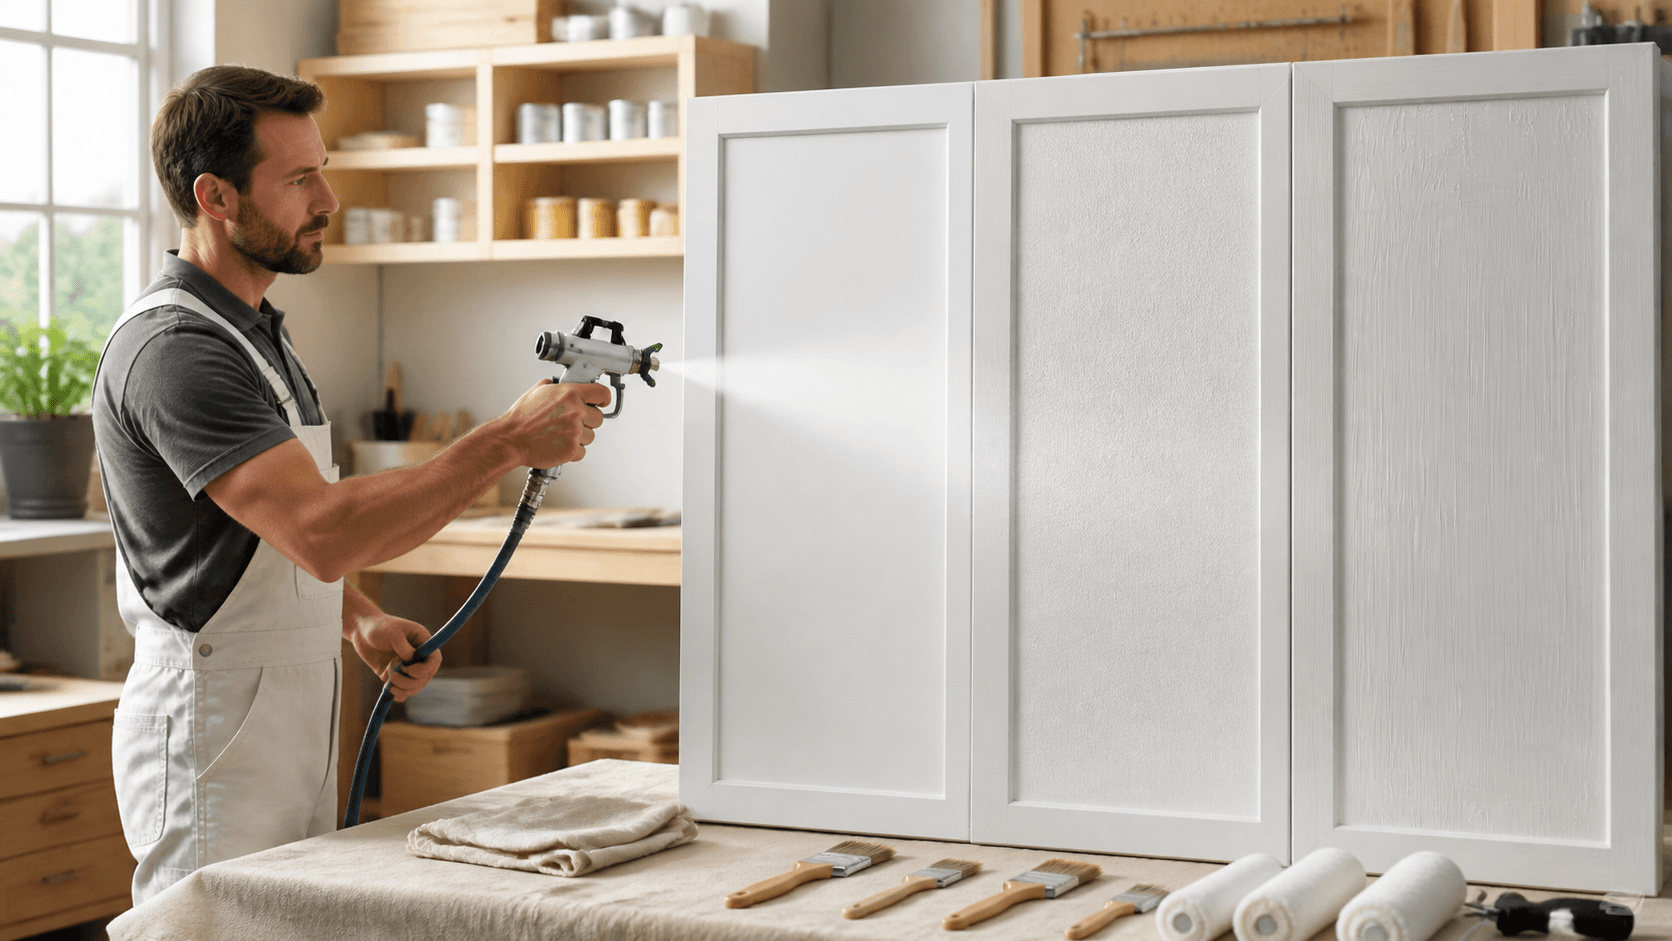
- HVLP sprayers: Better for fine finish work like doors, cabinets, trim
- Handheld sprayers: Handy for small touch-ups or tight areas
Project size, surface type, and coating type should guide the choice, not just habit. Thick exterior acrylic on rough siding is very different from a trim enamel on interior doors. Each needs a sprayer and tip that fits the coating and surface.
Tip choice matters just as much:
- Tip size controls how much paint comes out
- Fan width controls how wide your spray pattern is
- Orifice shape affects how smooth and even the pattern looks
On siding or fences in hot weather, too large a tip can flood the surface and sag. Too small a tip can give you dry spray and poor coverage. Manufacturer recommendations are your friend here. Match:
- Tip size to the paint's viscosity and solids content
- Filters and strainers to the thickness of the paint
- Tip and filter to each other so you avoid clogs and spitting
Following these guidelines helps you avoid orange peel, rough texture, and poor atomization before you even pull the trigger.
Control Pressure, Viscosity, and Atomization
Once you have the right sprayer and tip, pressure and paint flow are next. Think of pressure as the force that breaks the paint into tiny droplets. Those droplets decide how your finish looks.
If pressure is too low, you will see:
- "Tails" at the edges of the fan
- Heavy lines in the center
- Patchy coverage and rough spots
If pressure is too high, you will get:
- Extra overspray and wasted paint
- Bounce-back off the surface
- A dry, sandpaper feel as paint dries in the air
Thinning and viscosity play a role too. Many paints are designed to be sprayed straight from the can when you use the right tip and sprayer. In hot July weather, paint can skin over faster, which tempts people to thin too much. Instead of dumping in water or reducer, it is often better to:
- Use a conditioner or extender made for that coating
- Adjust tip size and pressure first
- Work earlier or later in the day when surfaces are cooler
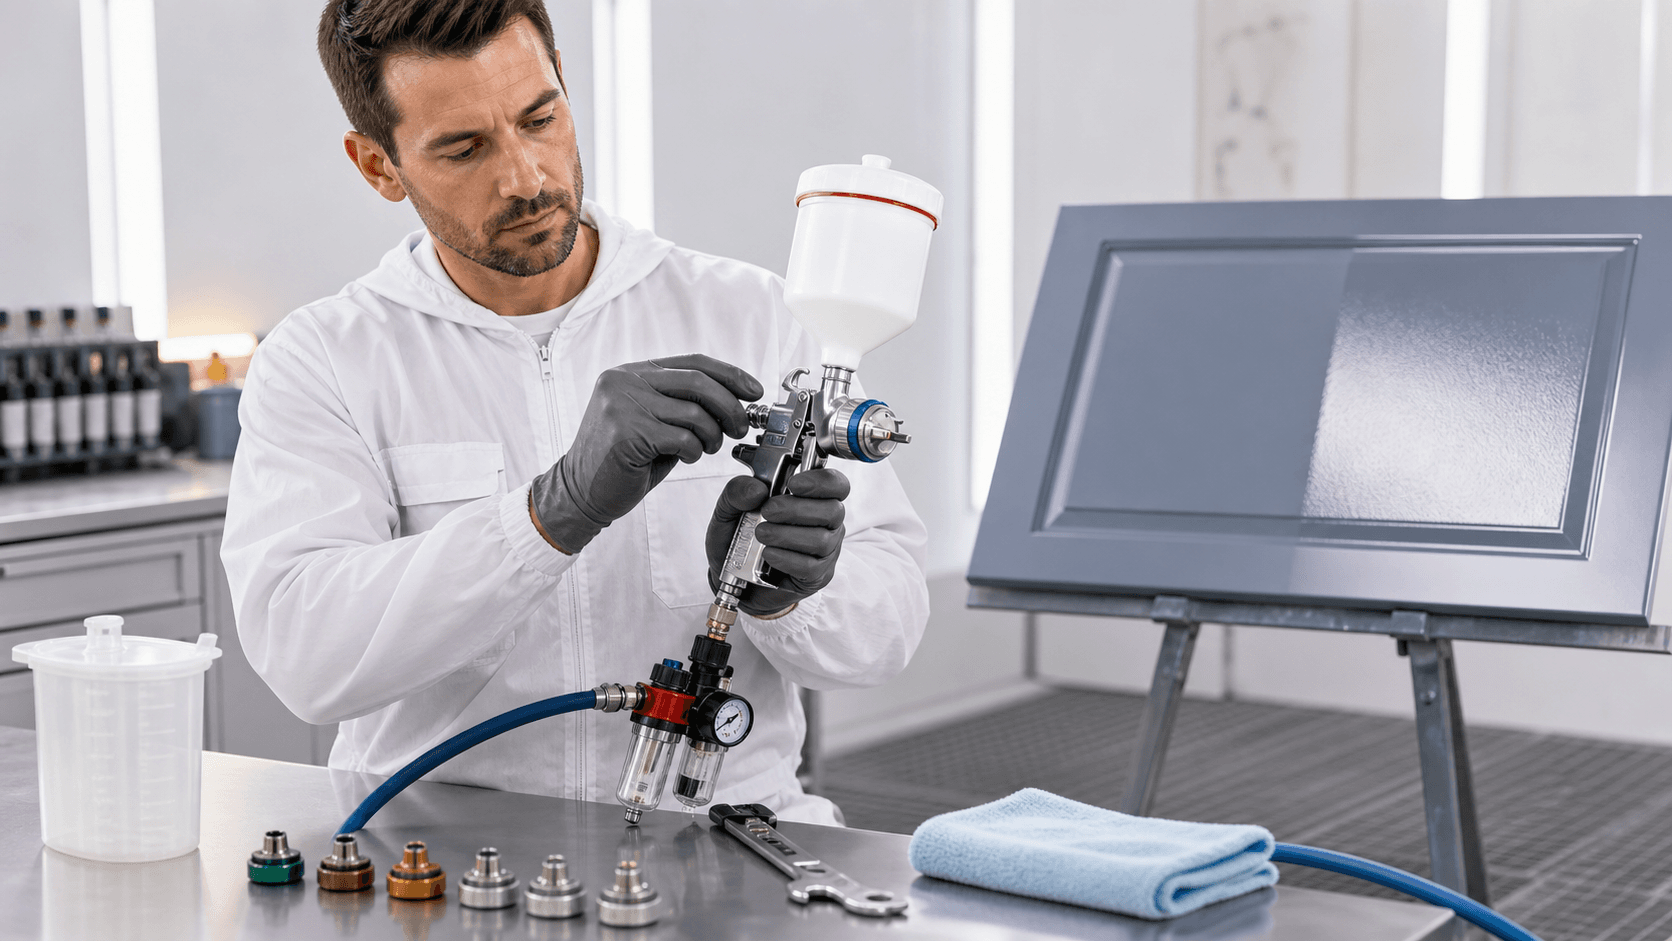
A simple test spray routine helps lock things in:
- Mask off a small section or find scrap siding.
- Start at the low end of the recommended pressure range.
- Spray a short pass and check the fan: edges, center, and feel.
- Bump pressure up in small steps until the pattern is even and soft-edged.
Once the fan is full, even, and fully atomized, stop turning the knob. More pressure than that just means more overspray.
Gun Distance, Angles, and Overlap Discipline
Even a perfectly tuned paint gun sprayer cannot fix poor gun handling. Technique is where a lot of finish issues show up, especially on siding, doors, and interior walls.
Key habits to train into the crew:
- Keep a consistent distance, usually about 10 to 12 inches from the surface
- Keep the gun perpendicular to the surface, do not swing in an arc
- Move at a steady speed, do not speed up or slow down in the middle of a pass
- Start pulling the trigger just off the surface, and release just off the other edge
Overlap is another big one. A good rule is about 50 percent overlap, meaning the next pass covers half of the last pass. This keeps the film build even and helps avoid striping.
On hot sunny July days, maintaining a wet edge is critical. If the last pass has already flashed off before the next pass, you will see:
- Lap marks
- Picture-framing around cut-in areas
- Banding and uneven sheen on large walls
Working with the sun at your back and planning your passes so you always roll into a wet edge can save you hours of touch-up.
Filtration, Cleanliness, and Routine Maintenance
What is inside your sprayer shows up on the wall. Dirty filters, clogged tips, and worn seals turn into spits, drips, and mystery bumps in the paint film.
Make daily habits part of the job:
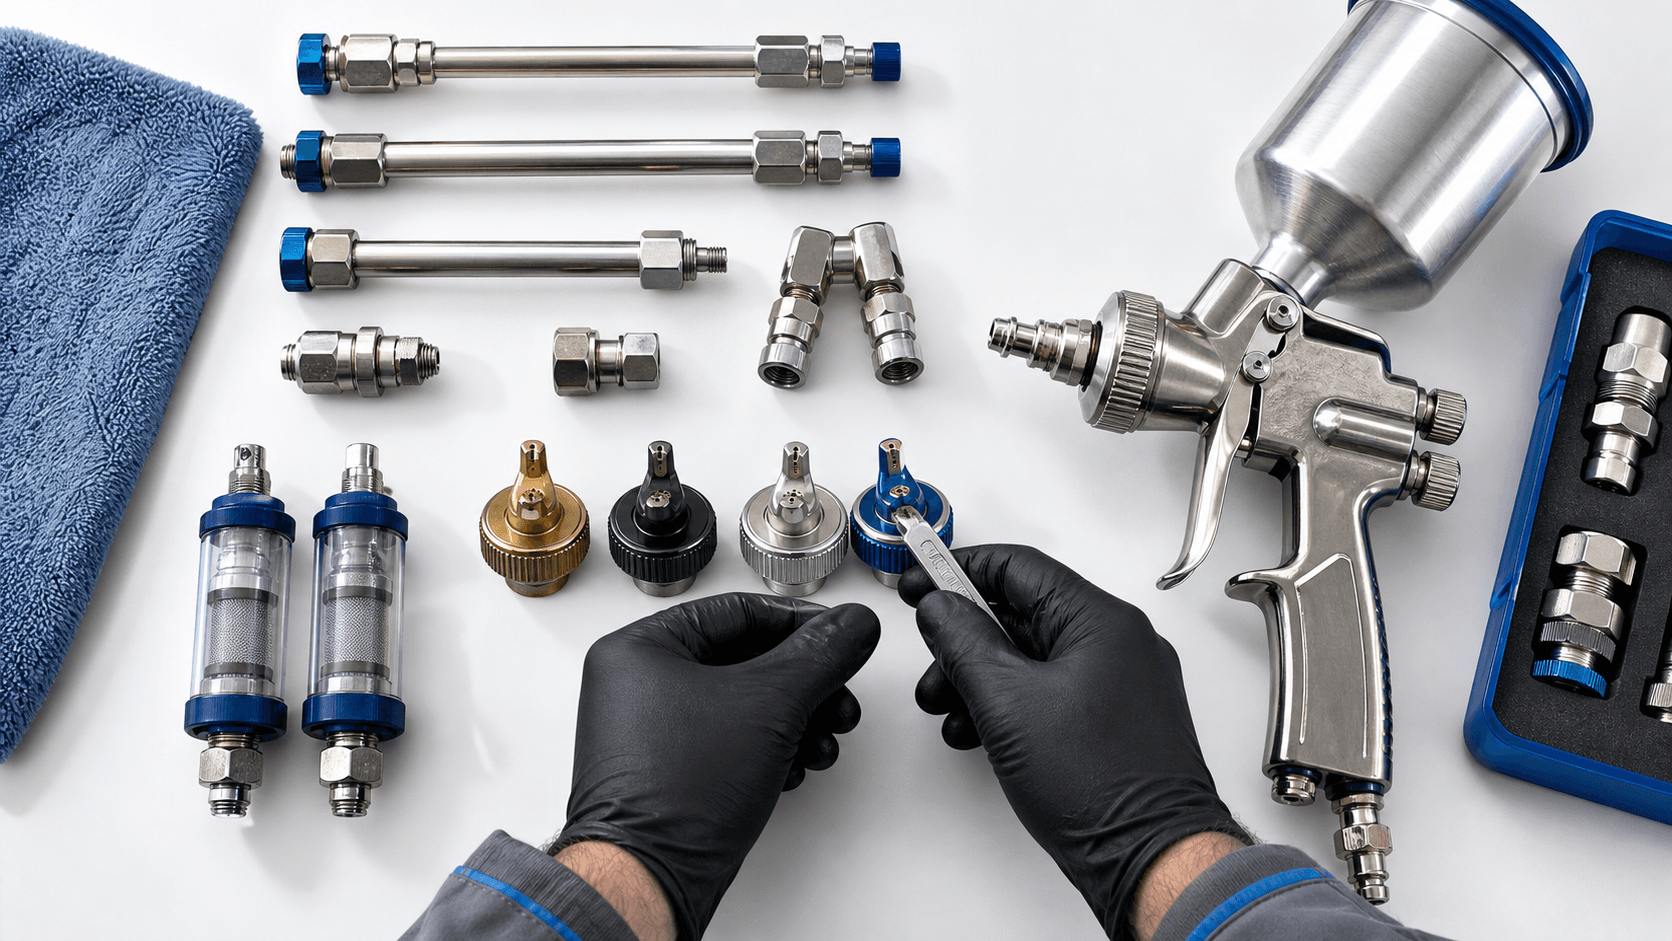
- Check and clean gun filters at the start and end of the day
- Rinse or replace strainer baskets in the pump or hopper
- Inspect tips for wear, rough edges, or odd fan shapes
- Look over hoses and fittings for leaks or soft spots
A tip that has started to wear will throw a wider fan and more paint than it should. That means more overspray, uneven coverage, and a different look from start to finish on the same wall.
Using manufacturer-approved filters, strainers, and replacement parts helps keep performance predictable. A clean, cared-for sprayer is easier to set up, easier to control, and less likely to surprise you halfway through a job.
Smart Summer Setup for Exterior and Interior Work
Summer work, especially in places with hot, humid days like we see around Ohio and across much of the country, adds some special challenges. High temperatures, direct sun, and wind can dry paint in mid-air. That means more overspray, more roughness, and less time to keep a wet edge.
A few smart adjustments help:
- Spray shaded sides of the house first
- Avoid the hottest part of the day for big exterior walls
- Keep an eye on wind, which can bend your fan and carry overspray
On exterior siding, you may want:
- A tip sized for good production but not so big that you overload the laps
- Slightly lower pressure to control overspray, but still fully atomized
- A plan to back-brush or back-roll if the surface is rough
For trim, drop to a smaller tip and narrow fan, and focus on more precise control. For interior walls and ceilings, airflow and dust control join the list. Adjust between spaces:
- Swap to different tips as you move from siding to trim to interiors
- Reset pressure after each change
- Do a quick pattern check at each stage
Those few minutes of adjustment can keep your finish consistent from room to room and wall to wall.
Better setup on every job turns into fewer callbacks and more predictable workdays. The finish quality is mostly decided before the first pass, by what sprayer you pick, how you configure it, and how well you repeat that setup each time.
Upgrade Your Finish With the Right Sprayer Today
If you are ready to get smoother, faster results on your next job, we can help you choose the right paint gun sprayer for your needs. At Integrity Supply, we offer professional-grade options that match both your project size and budget. Browse our selection, and if you have any questions or need a recommendation, simply contact us so we can guide you to the best fit.
John Colavecchio is the President and CEO of Integrity Supply, an Ohio-based supplier of painting, safety, hardware, tools, and construction-related products. With Integrity Supply founded in 2000 and serving contractors, painters, and trade professionals for more than two decades, John brings practical industry knowledge to articles covering paint supplies, spray equipment, job-site tools, and professional product selection. His content is written to help contractors and serious DIY customers choose the right products, avoid common project mistakes, and get better results from trusted industry brands.