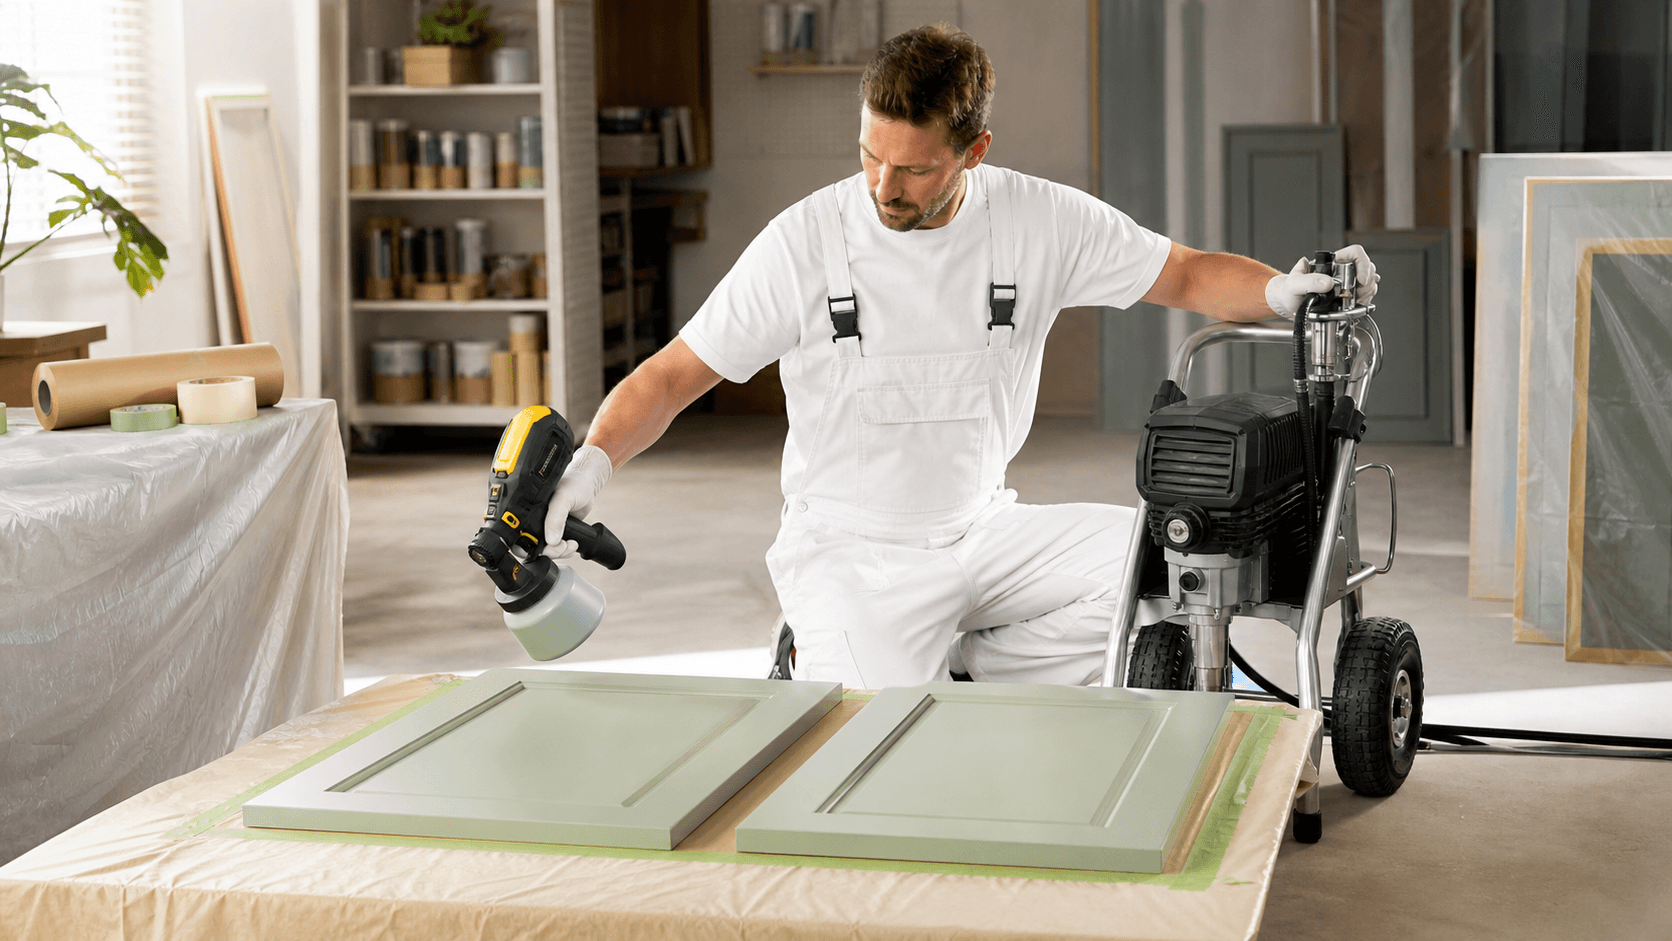
Get a Factory-Smooth Cabinet Finish Indoors
A cabinet finish can look smooth and professional, or it can show runs, rough spots, and heavy paint around every edge. During cooler November weather, indoor cabinet projects often move to the top of the list. That makes sprayer choice, workspace setup, and cleanup habits especially important.
When we help customers compare a Graco paint sprayer with a handheld unit, we start with the job size. A few removable doors need a different setup than a full kitchen with cabinet boxes, drawer fronts, and detailed trim. The right equipment can save time between coats and reduce the sanding needed to correct finish problems.
Cabinets are less forgiving than walls or fences. Door edges, routed details, inside corners, and narrow face frames can collect too much coating fast. A smooth result comes from the complete process, including surface prep, coating choice, tip selection, pressure control, ventilation, masking, and careful cleaning.
Graco Paint Sprayer Power for Cabinet Doors
For full kitchens, built-ins, or repeat contractor work, a full-size Graco paint sprayer offers a steady workflow. Larger airless units can pull material from bigger containers, support longer spray sessions, and keep up when there are many doors and drawer fronts waiting on drying racks.
That matters when production is the goal. Stopping repeatedly to refill a small cup can slow down a cabinet job, especially when primer and finish coats both need to be applied. A larger unit also gives you more flexibility when spraying cabinet boxes, trim, doors, and other interior surfaces during the same project.
Fine-finish low-pressure tips are a smart match for cabinet coatings. Smaller tip orifices and reduced pressure can help create a softer fan pattern with less overspray. They can also reduce the thick paint buildup that often shows up along door edges and profile lines.
Handheld airless and HVLP-style models still have a place. We often recommend considering them for limited projects such as:
- A bathroom vanity
- A few cabinet doors or drawer fronts
- Small touchups after repairs
- Removable pieces sprayed in a contained area
Handheld units are easy to carry and quick to stage, but their smaller material cups require frequent refilling. For larger cabinet projects, that interruption can become a real drag on the workday.
Match the Sprayer to Coating and Cabinet Details
The coating should help guide the equipment decision. Cabinet work may involve waterborne acrylic enamels, urethane-reinforced coatings, bonding primers, or specialty cabinet finishes. Each product can have different instructions for thinning, filtering, tip size, dry time, and recoat windows.
We recommend following the coating manufacturer's guidance from start to finish. A coating that sprays well through one setup may need a different tip or filtration level in another. For professional results, it is better to match the sprayer setup to the product than force the product through the wrong equipment.
Door style matters, too. Shaker doors, raised panels, routed profiles, and narrow face frames all need a controlled fan. Too much pressure can create bounce back, dry spray, and runs in inside corners. Too little pressure may leave a weak, uneven pattern that does not lay out cleanly.
Before moving to the cabinet parts, filter the coating and test the spray on cardboard or masking paper. A ready-to-spray pattern should look clean and even, without fingers, tails, or a heavy band through the center. Adjustments are much easier on test paper than on a freshly primed door.
Choose a Graco Paint Sprayer for Job Volume
Upfront size is not the only thing to consider. We encourage contractors and serious DIY customers to think about how often they spray cabinets, trim, doors, and interior repaint work. A larger Graco paint sprayer can make more sense when cabinet spraying is part of your regular workload.
Longer hoses, larger material capacity, and sustained output support a more organized production setup. You can keep the sprayer in a protected area while moving around cabinet boxes or spraying doors on racks. That setup can be especially helpful when several rooms or multiple sets of cabinets are involved.
A handheld model can still be the practical pick for smaller work in occupied homes. Its compact size may reduce setup time when you are spraying only a handful of removable pieces. The key is being realistic about the total amount of material and the number of coats required.
No sprayer removes the need for proper masking and containment. Even a small cabinet project can send overspray and airborne dust farther than expected. Before spraying, plan to protect:
- Floors and nearby walls
- Countertops and appliances
- Hardware, hinges, and drawer slides
- Adjacent rooms and open doorways
A compact tool helps with portability, but it does not replace a controlled work area.
Prevent Common Cabinet Spraying Mistakes
Most cabinet finish failures begin before the sprayer is switched on. Surface prep needs to be complete. Remove hardware, clean away grease and silicone contamination, sand glossy coatings with the proper abrasive, repair dents, remove dust, and apply a compatible primer when the project calls for one.
Skipping prep can lead to poor adhesion, visible scratches, or uneven sheen. We also see problems when a clean coating is sprayed over surfaces that still have kitchen grease, polish residue, or sanding dust. Cabinets need a clean, stable surface before any finish has a chance to look good.
Indoor spraying also calls for a serious safety plan. Use appropriate respiratory protection, gloves, eye protection, ventilation, and containment. Follow the coating manufacturer's safety information closely, especially with solvent-based or two-component products.
Winter storage deserves attention as well. Waterborne coatings can be damaged by freezing temperatures. Dried coating inside tips, filters, hoses, and pumps can also create poor patterns on the next project. Clean the sprayer promptly after use, then store both the equipment and coatings in a temperature-controlled area.
Select Equipment That Fits Your Next Cabinet Project
The best choice comes down to project size, coating type, finish expectations, and available workspace. A handheld sprayer may fit a small cabinet update with a limited number of doors. For larger kitchens, repeat refinishing work, or contractor production, a professional Graco or Titan airless setup is often the more practical route.
Whatever sprayer you choose, pair it with a fine-finish tip, quality abrasives, dependable masking supplies, proper safety equipment, and a coating system made for cabinets. Good equipment supports a smooth finish, but the prep, testing, and cleanup are what help that finish stay looking sharp.
Choose Equipment That Fits Your Workflow
At Integrity Supply, we help contractors and serious DIYers match equipment to the materials, project size, and finish standards they need to meet. Compare a Graco paint sprayer with the features that support efficient cabinet work, from consistent pressure control to dependable cleanup. If you need help narrowing down the right setup, contact us for product guidance.