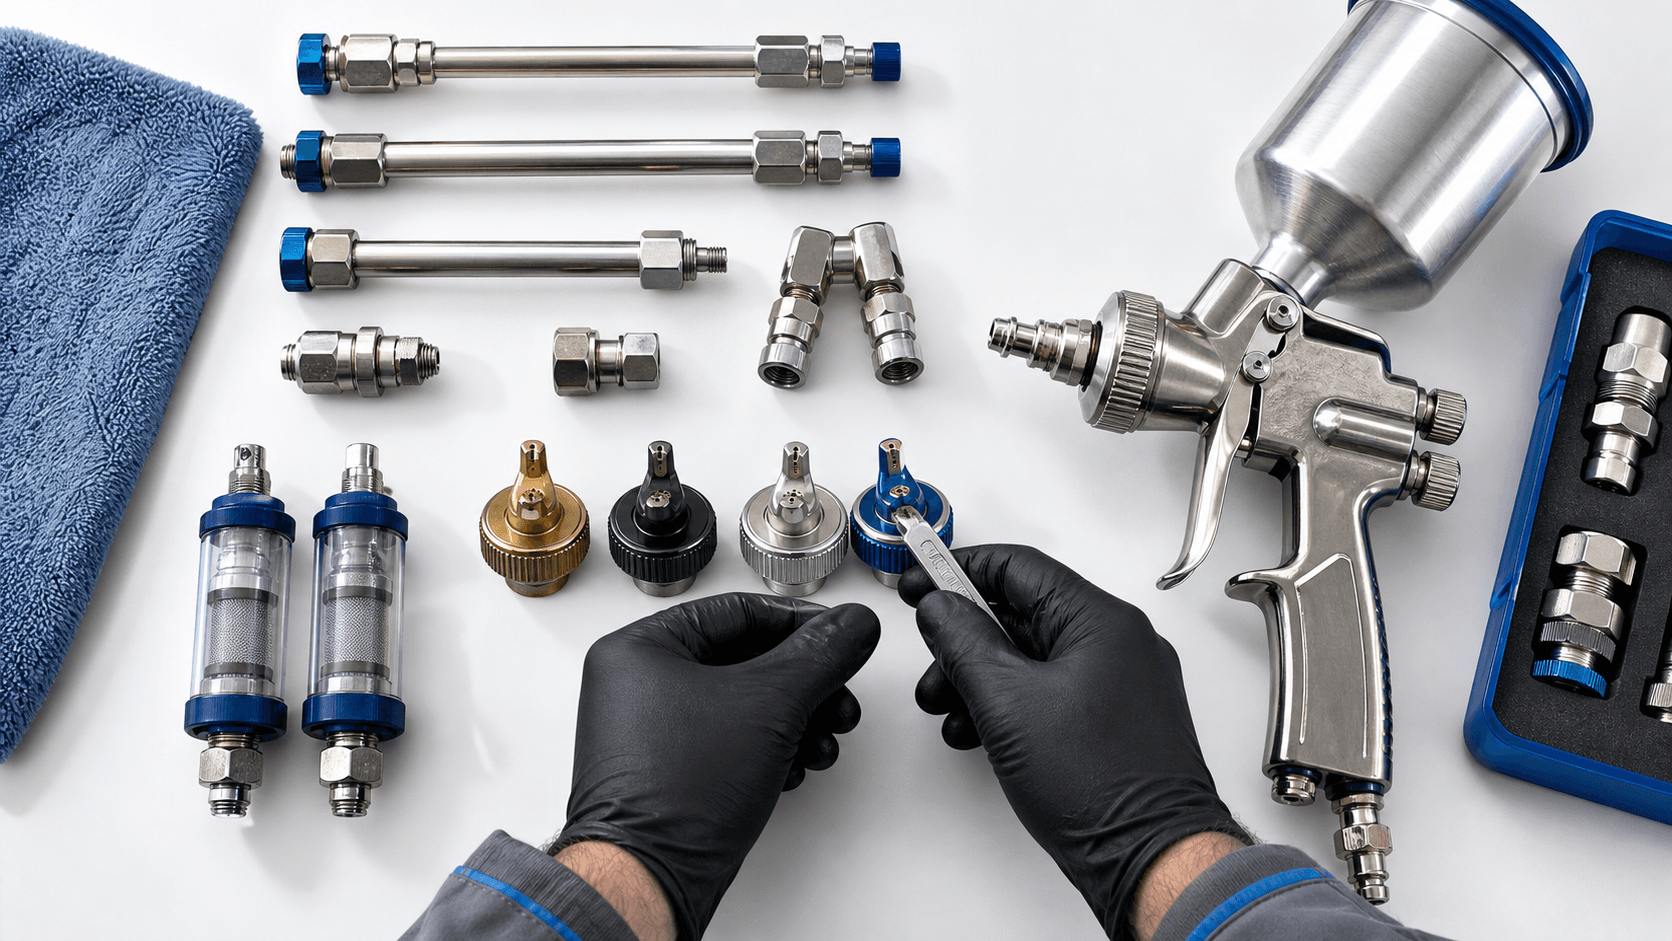
Start Every Job Right with a Safe, Dialed-in Sprayer
A Graco paint sprayer can turn a long, slow painting job into a fast, professional finish, but only if it is set up and checked correctly before you pull the trigger. Skipping basic pre-use checks can lead to poor spray patterns, unexpected shutdowns, or worse, serious safety issues. A few focused minutes at the start of the day can save you hours of frustration and rework.
In this article, we walk through the essential features and functions to confirm before putting any Graco airless sprayer into service. We will cover power and connections, hose and gun integrity, tips and filters, pump and prime system checks, pressure and pattern testing, plus the safety gear that should be part of every job. While we are talking specifically about Graco paint sprayer setups, these habits apply to most professional airless rigs. At Integrity Supply, we support those habits with access to professional-grade sprayers, OEM tips, filters, hoses, and safety products when something does not pass inspection.
Power, Cords, and Connections That Keep You Spraying
Power problems show up as tripped breakers, overheating motors, and frustrating downtime, so this is the first place we like to look. Your Graco airless sprayer is designed for a specific voltage and amperage range. Always match it to a properly grounded outlet and avoid guessing on power.
Before each job, run through these quick checks:
- Confirm you are on the correct voltage circuit for your model
- Use a grounded outlet or properly rated generator
- Avoid undersized or extra-long extension cords
- Keep connections off wet surfaces whenever possible
Undersized cords are a silent killer for performance. They can cause voltage drop, reduced power to the motor, and nuisance breaker trips. If you have to run an extension, choose a heavy gauge cord that matches the sprayer's load, keep it as short as practical, and inspect it just as carefully as the sprayer's own cord.
Next, inspect all electrical components on the sprayer itself. Look for cuts in the cord jacket, exposed copper, burn marks on the plug, loose switches, or cracked housings. Even small defects in insulation or connections can lead to shock risk or intermittent shutoffs that are hard to diagnose once the job is underway.
On the fluid side, go over every main connection:
- Inlet suction tube and fittings
- Return line and clamps
- Manifold filter housing and seals
- Gun swivel and hose fittings
Each connection should be tight, properly sealed, and aligned. Any sign of leakage at low pressure usually turns into a serious mess at working pressure. Always run rated spray hoses and fittings that meet or exceed the sprayer's maximum working pressure, and retire any components that can no longer be trusted.
Hoses, Gun, and Tip: Your First Line of Finish Quality
If power keeps you running, the hose, gun, and tip determine how clean your finish looks on the wall or substrate. A single bad spot in the hose or a worn tip can turn a well-tuned Graco paint sprayer into a spitting, overspraying headache.
Start with the hose. Lay it out straight and check for:
- Kinks or crushed sections
- Deep abrasions in the outer jacket
- Bubbles, blisters, or soft spots
- Any exposed steel braid
If any of these show up, replace the hose before pressurizing. A compromised hose under airless pressure is not just an inconvenience; it is a safety hazard.
Move to the spray gun. Cycle the trigger without pressure and feel for smooth movement. Confirm:
- The trigger lock engages and releases cleanly
- The guard is firmly seated and aligned
- No cracks or leaks appear around the handle or inlet
A sticky trigger or unreliable trigger lock is reason enough to pause and fix the issue before someone gets hurt.
Finally, pay attention to the tip and tip guard. Match the tip size to your coating and the fan width to the surface. Inspect the tip orifice for wear rings or distortion that can cause tails, heavy edges, and excess overspray. Replacing a worn tip is one of the fastest, lowest-cost ways to improve finish quality and reduce material waste on any Graco paint sprayer.
Filters, Pump, and Prime System Checks
Clean, intact filters protect the pump and keep your pattern consistent. Your sprayer may use several layers of filtration, typically an inlet strainer, a manifold filter, and a gun filter. Before each job, remove and inspect them for dried paint, clumps, or torn mesh.
Match mesh size to the coating you are spraying:
- Finer mesh for thin materials like stains and lacquers
- Medium mesh for standard acrylics
- Coarser mesh for heavy latex and elastomerics
Clogged filters cause pulsation, poor atomization, and extra strain on the pump. Replacing or cleaning them during setup is much easier than stopping in the middle of a wall.
Check the pump itself for external leaks, loose fittings, or worn packings. Look closely around the pump rod for dried material, which can scratch the rod and lead to seal failure. If you see paint or fluid weeping from areas that should be dry, plan on addressing that before cranking up to full pressure.
Your prime and pressure relief system is both a performance and a safety feature. Confirm that the prime valve:
- Moves freely through its range
- Directs fluid back to the return line correctly
- Allows you to relieve pressure fully
A valve that is hard to move or does not fully relieve pressure is not something to ignore. Regular flushing with compatible cleaning solution and lubricating moving parts as outlined in Graco guidelines helps these components stay consistent and predictable over time.
Pressure Settings, Pattern Testing, and Safety Gear
Once the hardware checks out, it is time to dial in performance. Set the pressure control to minimum before you switch the sprayer on. After priming and circulating material, slowly raise pressure while performing test sprays until you get a clean pattern without tails or heavy edges.
Always test on scrap material or a masked-off area first. During this test, watch for:
- Consistent fan pattern with no gaps
- No spitting at the start or end of stroke
- Minimal overspray for the chosen tip size
- No noticeable pulsation in the hose or gun
Adjust pressure, tip size, or filters to correct problems during this test stage, not on the finished surface.
Along with equipment, treat your personal safety gear as non-negotiable. For most spray jobs, that means:
- A properly rated respirator for the coating type
- Safety glasses or a full-face shield
- Hearing protection around louder rigs
- Gloves and coveralls or spray suit
Confirm ventilation meets product and jobsite requirements, and respect any site rules on flammable or solvent-based materials. Always follow Graco's safety instructions, especially around pressure relief, trigger locking when not spraying, and proper handling and storage of flammable coatings.
Turn Pre-Use Checks Into a Jobsite Habit
A consistent pre-spray routine quickly becomes second nature and pays off in fewer callbacks, cleaner finishes, and safer crews. The main checkpoints are simple: verify power and electrical safety, confirm tight fluid connections, inspect hoses and the gun, choose and check the right tip, clean and match your filters, assess the pump and prime system, fine-tune pressure, test the pattern, and gear up with the right PPE.
We recommend building a short checklist and attaching it to your Graco paint sprayer rig or storage case so the whole team follows the same process every time. At Integrity Supply, we are committed to helping contractors and serious DIY users keep their sprayers running reliably with professional-grade products from trusted brands, along with the tips, hoses, filters, and safety gear that support a consistent, pro-level finish on every job.
Get Started With Your Project Today
If you are ready to upgrade your painting results, our Graco paint sprayer delivers the control and efficiency you need. At Integrity Supply, we help professionals and serious DIYers choose the right equipment so every coat goes on smoothly and consistently. If you have questions about specs, applications, or availability, simply contact us and we will walk you through your options.